How to build the Meshtastic Firmware
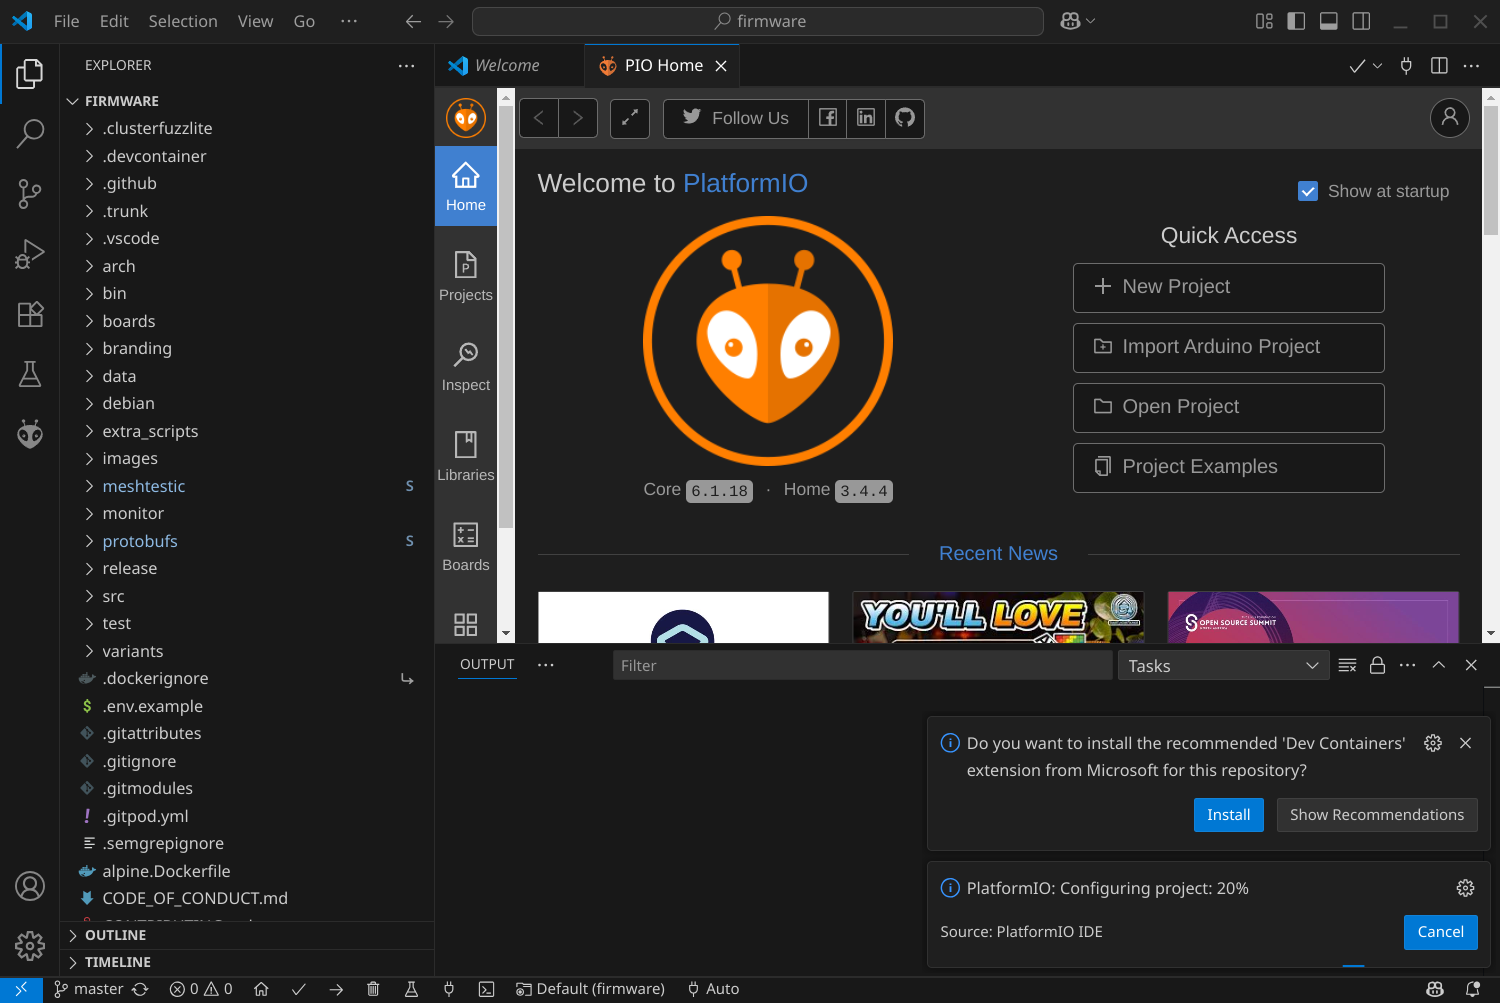
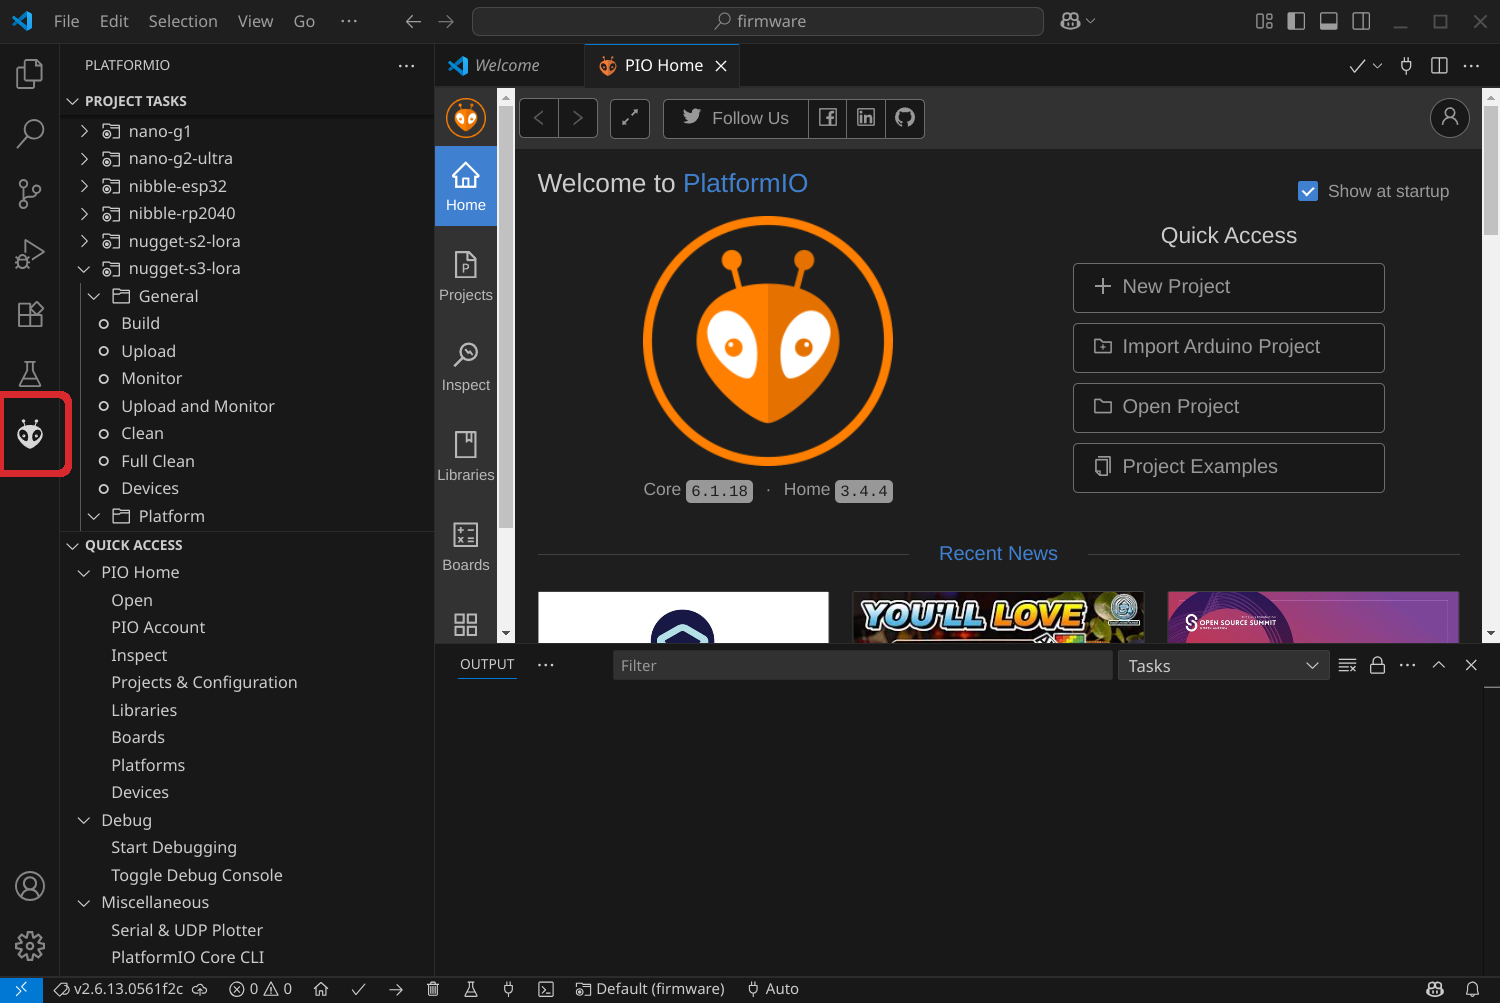
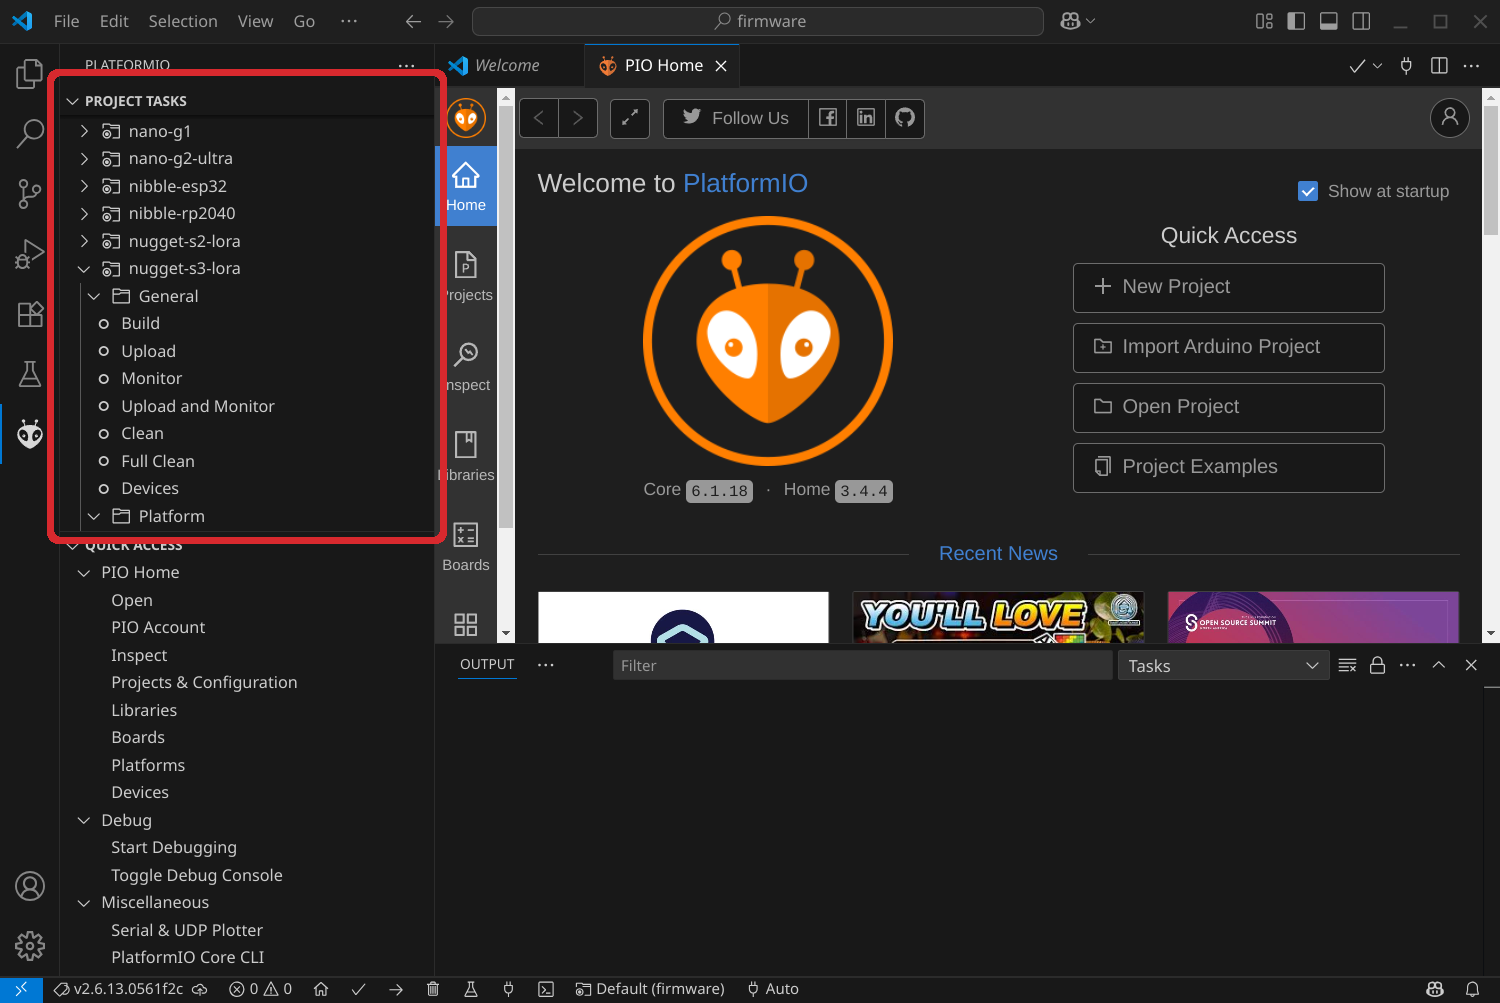
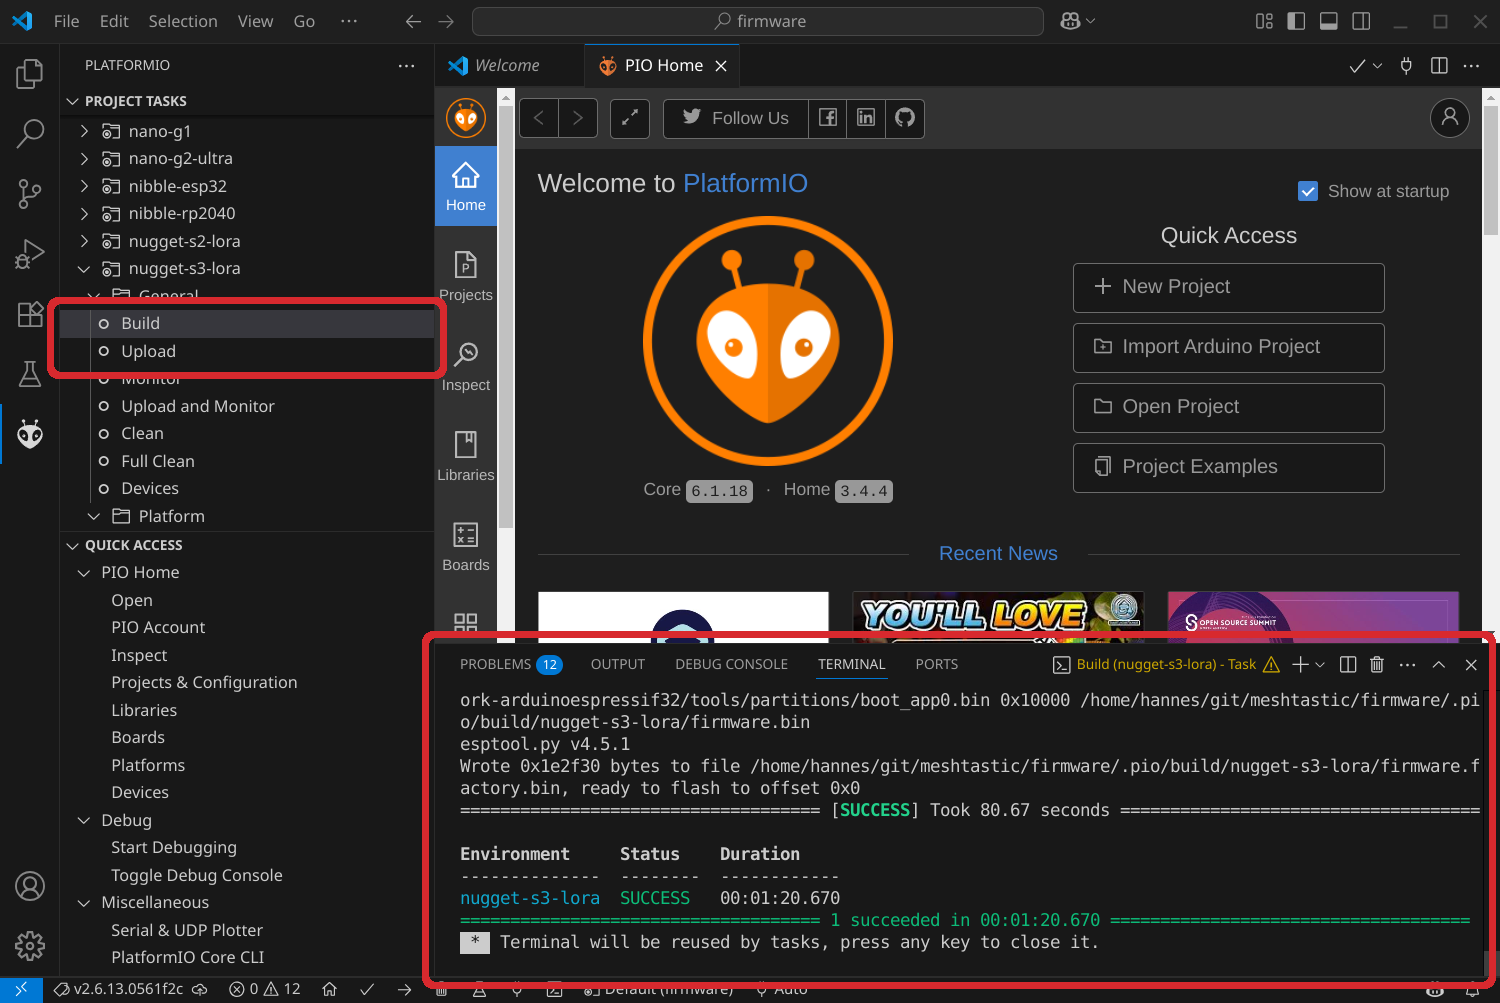
How to build the Meshtastic Firmware with Visual Studio Code and the PlatformIO IDE extension or with the command line and PlatformIO Core. Meshtastic is an open source, off-grid, decentralized, mesh network built to run on affordable, low-power devices. It utilizes LoRa for the communication between the devices. Due to LoRa, the data rate is low, making it suitable for exchanging text messages, sensor telemetry and other lightweight message exchanges. In theory, you can transmit anything, but its usefulness is questionable. Especially in the EU with a duty cycle of 10%. It's a great project to experiment with or build useful applications without relaying on central infrastructure. There are many builds for the firmware available either via the Meshtastic Web Flasher or as download from the GitHub Meshtastic Firmware Releases page. However, not all supported devices are covered in the default builds. This step-by-step guide aims to fill this gap and hopefully enables you to build the firmware for your (supported) device. It will show two ways to build the firmware: In a nutshell, see further below for detailed instructions for Visual Studio Code or the Command line. In this guide, I use Visual Studio Code, because installing the required PlatformIO IDE extension is a pain when using open source options of Visual Studio Code. Makes sure PlatformIO IDE extension is installed. See the instructions for Visual Studio Code. Once the extension is installed you can clone the git repository directly in Visual Studio Code. Select Clone Repository enter If you have already cloned the repository, you can open the folder where it is located. You will then be asked, Do you trust the authors of the files in this folder?, acknowledge it with clicking on Yes, I trust the authors, so extensions are enabled. PlatformIO IDE will perform some additional installation steps in the background. After it finished the installation click Reload Now. After reloading, PlatformIO IDE will configure the project (Meshtastic firmware). This will also take some time. I didn't install the Dev Containers by clicking on x. It isn't needed for compiling the firmware. Optional: To check out a specific version of the Meshtastic firmware, select a git tag. Click on master (this is the currently selected git branch) in the lower left corner, type for example If you haven't already, switch to the PlatformIO IDE view. In Project Tasks (upper left), select the desired device to compile the firmware for. Expanding the tasks of a device takes a moment and the view reloads. The device needs to be selected again after the reload. In the Project Tasks you can select different actions per device: Uploading/Flashing depends on the device. Some devices can be flashed (upload) directly using the Upload task, others must be set into a mode to accept a new firmware by the Upload task and some appear as external drive where the firmware file can be copied to. After building the firmware a SUCCESS message should be displayed in the terminal window. By now, you should have successfully built a firmware or even flashed it with the Upload task. The built firmware files are located in the Meshtastic firmware project folder under PlatformIO Core provides the command line interfaces (CLI), the heart of the entire PlatformIO ecosystem. To install PlatformIO Core see the installation documentation. Some Linux distributions provide a package, which can be installed with the package manager of the distribution, for example: First clone the Meshtastic firmware repository with The above command clones the Meshtastic firmware repository into A git repository can contain other git repositories, called submodules. The Meshtastic firmware repositories uses submodules. Update the repositories submodules with Optional: Switch to a specific Meshtastic version via a git tag, for example: Checking out a git tag without creating a branch will result in a detached HEAD. If you are not familiar with git, this maybe confusing. It is good enough for compiling the firmware. Another option is to create a git branch from the git tag while checking out. With When switching to another branch or checking out a tag, the submodule(s) may become outdated. To resolve this, update them again using To list the available devices (environments) for which you can build the firmware, use the command Build the firmware for your device with A successful build should output: The development of the Meshtastic firmware is progressing rapidly, with a new release approximately every week. To update the sources, run Table of Contents
Meshtastic
tl;dr
git and PlatformIO Core must be installed for the commands to work.# Clone the Meshtastic firmware repository
git clone https://github.com/meshtastic/firmware.git
# Go into directory
cd firmware
# Update submodules
git submodule update --init
# Show available tags
git tag
# Checkout a tag and create a branch
git checkout -b v2.6.13 v2.6.13.0561f2c
# Update submodules
git submodule update
# Build for nugget-s3
pio run -e nugget-s3-lora
# Or build and upload
pio run -e nugget-s3-lora --upload-port /dev/ttyACM0 --target upload
# Some weeks later... Update sources and submodules
git pull --recurse-submodules
# checkout/switch master
git switch master
# Update submodules
git submodule update
# Build
pio run ...
# Or checkout another tag and create a branch from it
git checkout -b v2.7.2 v2.7.2.f6d3782
# Update submodules
git submodule update
# Build
pio run ...
# List environments (devices) verbose
pio project config
# List environments (devices), but only names
pio project config | grep "^env:" | cut -d':' -f2- | sort
Build with Visual Studio Code
https://github.com/meshtastic/firmware.git and select a destination. I use ~/git/meshtastic-firmware. The destination can be chosen based on personal preference.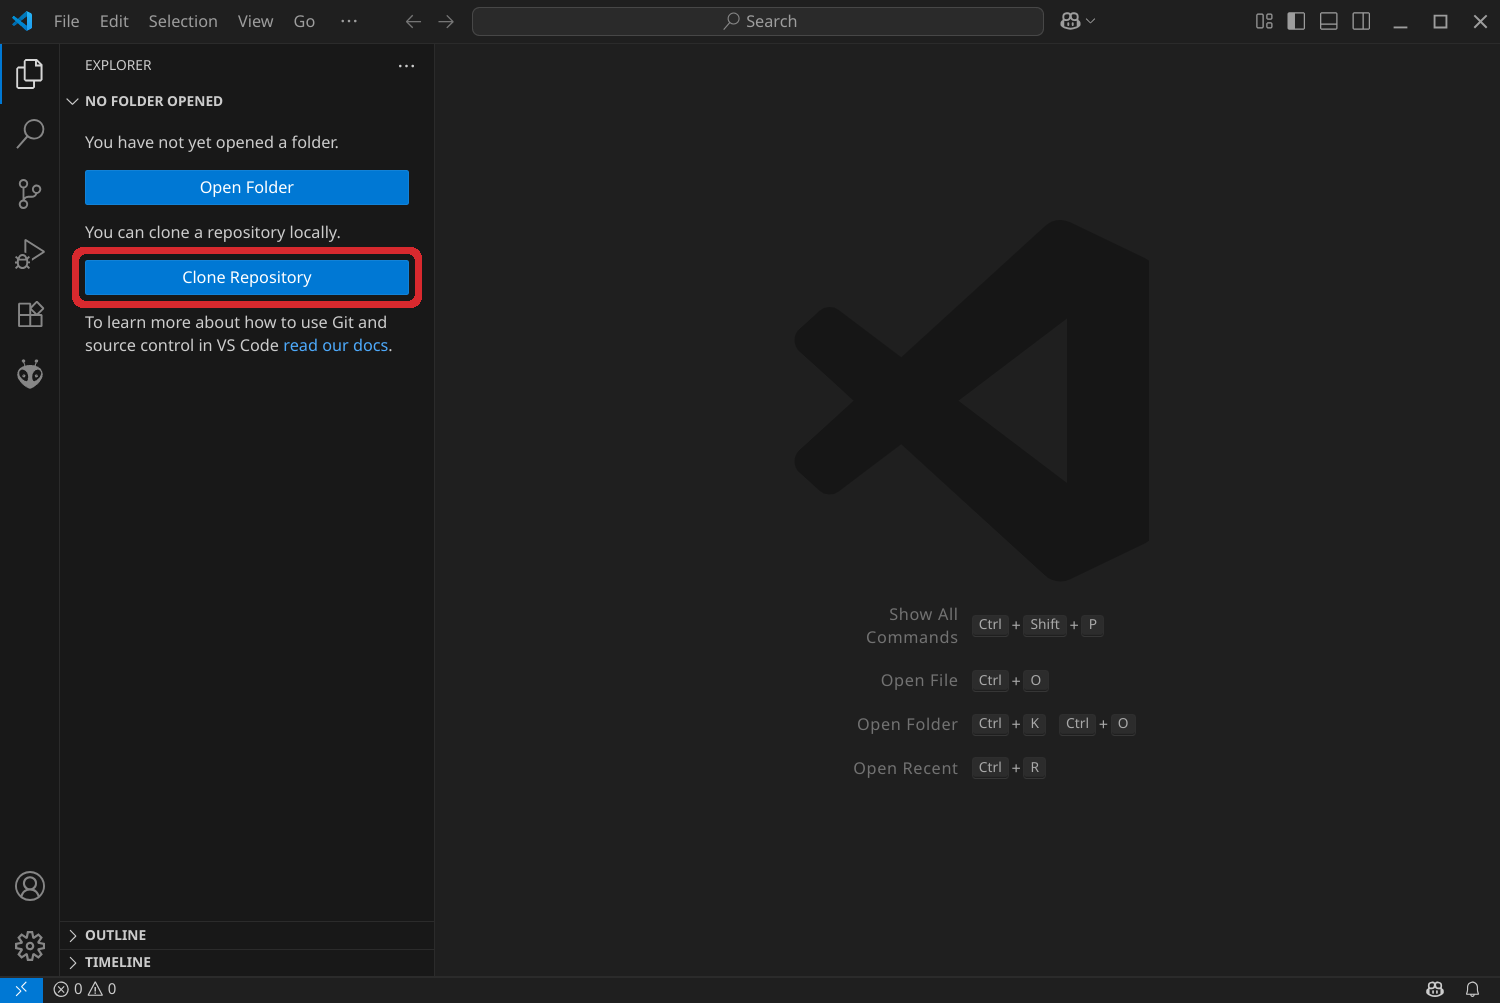


v2.6.13 and select v2.6.13.0561f2 for a specific git version tag.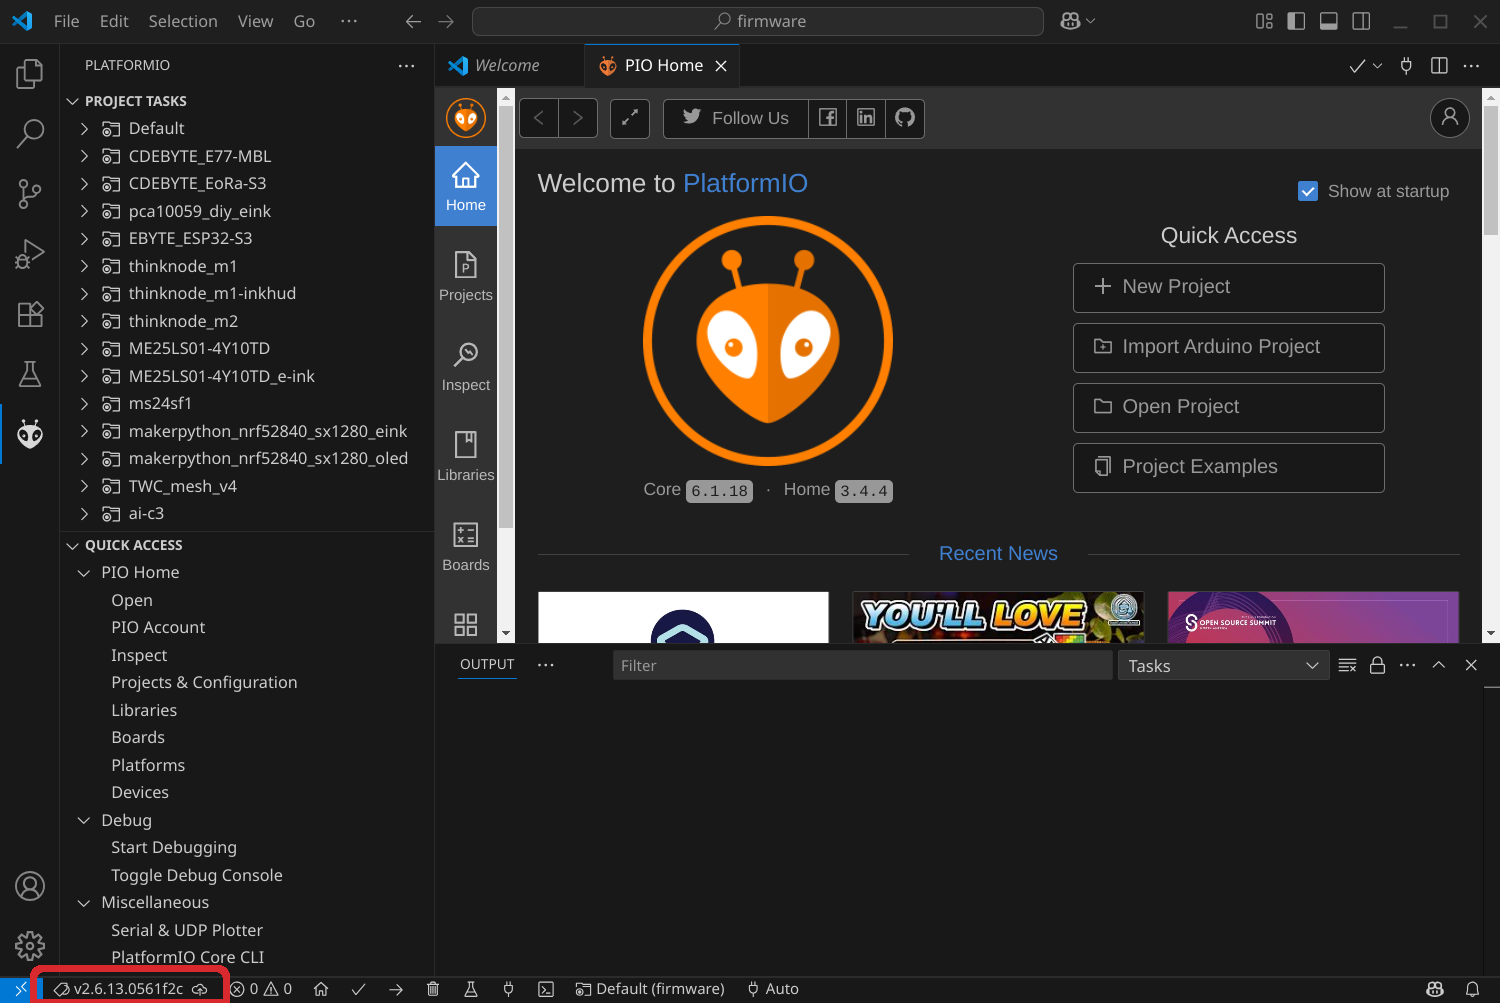
.pio/build/. Build with PlatformIO Core via the command line
dnf install platformiorpm-ostree install platformiopacman -S platformiogit clone https://github.com/meshtastic/firmware.git meshtastic-firmware. To use the git command, git must be installed.meshtastic-firmware. I store the repositories in ~/git/ in my home directory. Since I have other projects which share the same name firmware, I prefix them. How you organize your data is up to you. You can use subdirectories like ~/projects/meshtastic, clone it there and omit the meshtastic-firmware. So let's assume you are in the directory ~/projects/meshtastic and run git clone https://github.com/meshtastic/firmware.git will result in ~/projects/meshtastic/firmware.$ git clone https://github.com/meshtastic/firmware.git meshtastic-firmware
Cloning into 'meshtastic-firmware'...
remote: Enumerating objects: 65669, done.
remote: Counting objects: 100% (336/336), done.
remote: Compressing objects: 100% (204/204), done.
remote: Total 65669 (delta 253), reused 132 (delta 132), pack-reused 65333 (from 4)
Receiving objects: 100% (65669/65669), 110.88 MiB | 6.22 MiB/s, done.
Resolving deltas: 100% (48152/48152), done.
git submodule update --init:$ cd meshtastic-firmware/
$ git submodule update --init
Submodule 'meshtestic' (https://github.com/meshtastic/meshTestic) registered for path 'meshtestic'
Submodule 'protobufs' (https://github.com/meshtastic/protobufs.git) registered for path 'protobufs'
Cloning into '/home/hannes/git/meshtastic-firmware/meshtestic'...
Cloning into '/home/hannes/git/meshtastic-firmware/protobufs'...
Submodule path 'meshtestic': checked out 'dcac7e5673005f4d8a2b1f0f6e06877b689d7519'
Submodule path 'protobufs': checked out '584f0a3a359103acf0bfce506c1b1fc32c639841'
git checkout v2.6.13.0561f2c.git checkout -b v2.6.13 v2.6.13.0561f2c a git branch with the name v2.6.13 is created from the tag v2.6.13.0561f2c.$ git checkout v2.6.13.0561f2c
M protobufs
Note: switching to 'v2.6.13.0561f2c'.
You are in 'detached HEAD' state. You can look around, make experimental
changes and commit them, and you can discard any commits you make in this
state without impacting any branches by switching back to a branch.
If you want to create a new branch to retain commits you create, you may
do so (now or later) by using -c with the switch command. Example:
git switch -c <new-branch-name>
Or undo this operation with:
git switch -
Turn off this advice by setting config variable advice.detachedHead to false
HEAD is now at 12680ad9c Update README.md
git submodule update. The --init option is unnecessary, as it has already been executed.pio project config. The output of this command is quite verbose. To display only the environment names, run pio project config | grep "^env:" | sortpio run -e <environment>, for example, pio run -e nugget-s3-lora. To also upload the firmware to the device, additional options are required: pio run -e nugget-s3-lora --upload-port /dev/ttyACM0 --target upload. Ensure you select the correct device path. If unsure about the device path, check the logs while plugging in the device with journalctl -f or sudo dmesg.===================== [SUCCESS] Took 19.37 seconds =====================
Environment Status Duration
-------------- -------- ------------
nugget-s3-lora SUCCESS 00:00:19.370
====================== 1 succeeded in 00:00:19.370 ======================
Update the sources
git pull --recurse-submodules. Afterward, you can switch to the master branch, which represents the latest version in development. The command git tag displays all available tags, which also indicate release. Then you can build a new firmware for your device as described above. References